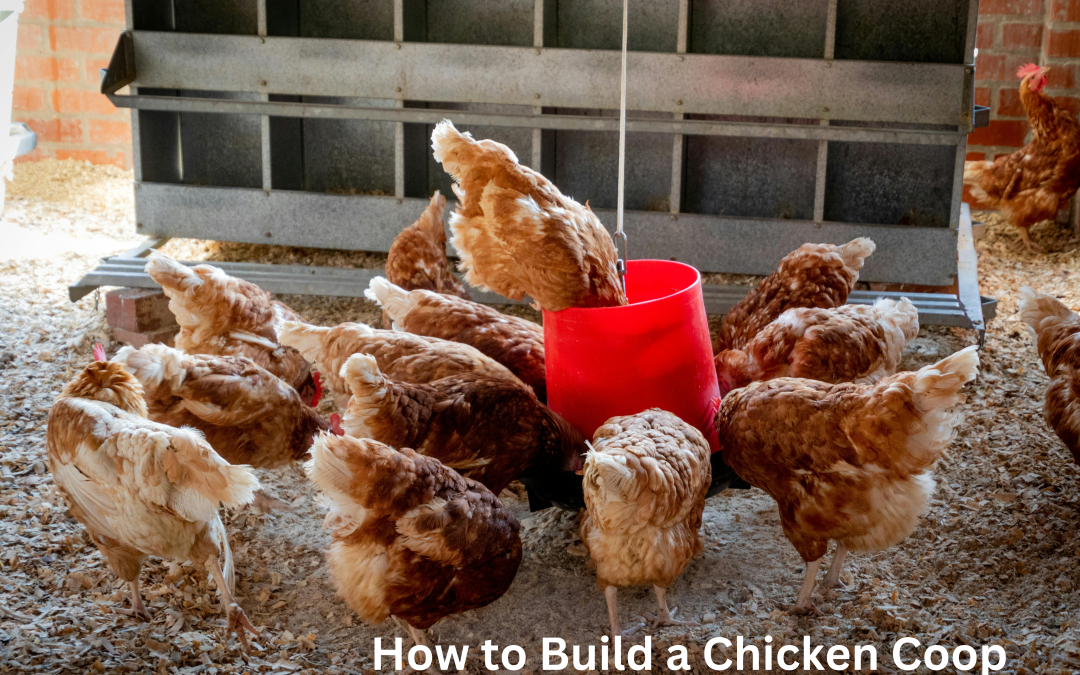
How to Build a Chicken Coop: Your Complete Step-by-Step Guide
Welcome to How To Build A Chicken Coop, a blog dedicated to guiding you through building a chicken coop all to your liking and providing all the information needed for perfect care of your chickens. You can learn everything from scratch, no prior knowledge is needed.
Gather materials and tools. A chicken coop is affordable and fun to build. Here is everything you need to know on how to build a chicken coop that best serves your chicken’s needs.
There are three things that chickens will need: shelter, access to space, and freedom to wander outdoors. If you have one or two chickens, both a cage and an outdoor area is enough. As for larger areas, calculating space per chicken helps provide optimal comfort.
Custom-made chicken coops offer various services tailored to its users. Here are other ways building a chicken coop can help you:
- Saving money: Buying ready-made chicken coops can be quite pricey. DIY chicken coops provide easy weather-resistant chicken housing at a fraction of the price.
- Personalization: Portable chicken coops allow you to add variety without compromising the comfort of your chickens. They can be taken anywhere and even test a few spots to find what fits the yard best.
- Better quality: DIY coops allow users to design a sturdier chicken house which eliminates common problems faced like coop eaters which can harm the chickens.
- Satisfaction: It gives a deep sense of pride when you create tangible things that are helpful for your family as well as your chickens.
Step-by-Step Instructions for Building Your Chicken Coop
Take a look at these steps to construct a chicken coop that your chickens will adore and spend very little time wondering why they never found it before:
Step 1: Make a Plan
Decide the number of chickens you plan to have and proceed to choose a design that works with the area and budget you have. Consider drafting your sketch with the necessary features you want and the dimensions you need, alternatively you can also check out one of our detailed blueprints.
Step 2: Collect Materials
You will require wood to construct the frame, wire mesh for the run, screws & hinges, and some roofing material. Try to reclaim materials whenever it is applicable to help save money and reduce waste.
Step 3: Assemble the Frame
Begin with the base and raise the walls of your coop. Using treated lumber ensures that the structure is long lasting. It is important to make the structure level and sturdy.
Step 4: Set the Walls and the Roof
Add plywood and other similar materials at the frame structure for the walls and put up a slanted roof to allow water to run off. Use weatherproof materials to reshape the coop and safeguard the chickens from the tough elements.
Step 5: Put in Place Nesting Boxes and Roosting Bars
Add nesting boxes in the coop that are used for egg laying and roosting bars are used for sleeping. Place these above the door to create a calm and safe area under it.
Step 6: Make the run
Using wire mesh and a gate, you can build a run that will provide space for chickens to roam while protecting them from any outdoor predators. Building an outdoor run with the correct dimensions should be a distinct development alongside the construction of the coop.
Step 7: Complete Painting Tasks
Finally, the coop will be ready to house chickens once the doors, windows, and locks are installed. Paint it to match the rest of your home and other structures.

